Glitter, and be gay
Experimenting with CSS variables and Javascript
I originally posted this article on Medium in June 2017, and just now remembered that I had written it. It's as good a reason as any to bring it back to my own blog.
After attending CSSconf EU, I started to think about what I could do with CSS variables to get the hang of it. Why not change the background color of a page once a visitor presses a key on their keyboard? Take a look at the demo to see how it turned out.
Preparing a hash of keys and colors permalink
First, I had to assign each key on a keyboard its color. I didn’t want the hex codes to be generated at random, since that leads to a bunch of really ugly variations, so I went with named colors instead.
I wrote a little script to avoid manually creating a list of key value pairs for all possible keys, and ran that over the file containing my plain list of color names.
colors = Array.new
i = 1

2.times do
  File.readlines('color-names').each do |line|
    colors.push(line.chomp)
  end
end


begin
  color = "#{i}" + ': "' + colors[i] + '",'
  i += 1
  print color + "\n"
end while i < 256
The highest number representing a key on a keyboard is 255 but there are only 147 named colors, so I simply read the file twice, and stuff everything into an array. It’s no big deal if this list is not 100% precise.
I ran the script from the terminal, and piped the output into a new file. Then I simply copied the resulting list as a hash into my JS file.
const colors = {
  1: "AntiqueWhite",
  2: "Aqua",

  ... // all the colors...

  255: "PaleGoldenRod"
};
Changing the background color when pressing a key permalink
I wanted to change the background color when pressing any key on the keyboard, so assigning a fixed color in CSS wouldn’t work. Enter the first CSS variable.
body {
  --bgColor: DarkSlateBlue;
  background-color: var(--bgColor);
}
I assign DarkSlateBlue as a default so the page has a background color set already when loading. Then I use Javascript to update the value when a key is pressed.
I remembered the keyboard drum exercise from one of the first lessons of Wes Bos’ Javascript30 course, and I figured I could take a look at some of that code again.
const body = document.querySelector('body');

body.onkeydown = function (e) {
  if ( !e.metaKey ) {
    e.preventDefault();
  }
  body.style.setProperty('--bgColor', colors[e.keyCode]);
};
This sets the value of --bgColor to whichever color corresponds to the key code inside the colors hash.
Making it work on touch devices permalink
Mobile phones don’t show a keyboard when we open a webpage, so I decided to make the page change color on touch. And to make it interesting also for a single type of event, I assign a random color from my hash.
According to MDN, mobile Safari doesn’t play well with click events on the body of a site, so I worked around it by adding a main section. This was then supposed to accept mouse clicks, and — fingers crossed — touch events.
<body>
  <main onclick="void(0)">
  </main>
</body>
Then I added a new function to handle the click event.
const main = document.querySelector('main');

main.onclick = function (e) {
  const randomNumber = Math.floor(Math.random() * (255 - 1)) + 1;
  body.style.setProperty('--bgColor', colors[randomNumber]);
};
First I create a random number between 255 and 1 which I then use to pick a color from the hash, and assign that to the CSS variable for background-color.
Quick’n dirty iPhone test. Worked. Nice.
While I played with the color change on the site, I kept thinking that it felt quite bland and boring. Let’s add some glitter!
Adding a particle permalink
I started with adding a single particle to the DOM to see if I could get it to work. Nothing fancy yet.
.particle {
  background-color: GhostWhite;
  border-radius: 50%;
  height: 5px;
  left: 10%;
  position: absolute;
  top: 10%;
  width: 5px;
  z-index: 99;
}
And in Javascript:
const addSparkles = function() {
  let sparkle = document.createElement("div");
  sparkle.classList.add("particle");

  let main = document.querySelector('main');
  main.appendChild(sparkle);
};
First, I create a div with the class particle, and then I add it to the DOM as a child of main. Then I call the function from onkeydown and onclick.
Poof. The site changes color and displays a particle.
Adding even more particles permalink
One particle is not going to cut it, I want more!
To make things interesting, I randomize properties such as size, placement, and shadow.
.particle {
  background-color: GhostWhite;
  border-radius: 50%;
  box-shadow: 0 0 var(--blur) var(--spread) rgba(255, 255, 224, 0.5); /* GhostWhite with 50% opacity */
  height: var(--size);
  left: var(--left);
  position: absolute;
  top: var(--top);
  width: var(--size);
  z-index: 99;
}
I add variables to all properties I want to manipulate, and assign random values to them in Javascript.
const randomProperties = function (particle) {
  const left = Math.floor(Math.random() * (99 - 1)) + 1;
  particle.style.setProperty('--left', left + '%');

  const top = Math.floor(Math.random() * (99 - 1)) + 1;
  particle.style.setProperty('--top', top + '%');

  const size = Math.floor(Math.random() * (6 - 2)) + 2;
  particle.style.setProperty('--size', size + 'px');
  particle.style.setProperty('--blur', (size * 4) + 'px');
  particle.style.setProperty('--spread', (size) + 'px');
};
To create lots of particles, I add a for loop to the initial addSparkles function. I want the amount of particles to be different each time though, so I assign a random number between 19 and 109 (99 looked good as a multiplier, hah) to the break condition.
const addSparkles = function() {
  let maxCount = (Math.random() * 99) + 10;

  for (let i = 0; i < maxCount; i++) {
    let sparkle = document.createElement("div");
    sparkle.classList.add("particle");

    let main = document.querySelector('main');
    main.appendChild(sparkle);

    randomProperties(sparkle);
  }
};
Inside the loop, I create a particle just like before, but now I call my randomProperties function to assign random values to CSS variables inside the particle class.
… and removing them again permalink
But now all these sparkles pile up in the DOM whenever I pressed a key. This is not quite what I want.
So I have to remove them.
const removeSparkles = function() {
  let sparkle = document.getElementsByClassName('particle');

  for (let i = 0; i < sparkle.length; i++) {
    sparkle[i].parentNode.removeChild(sparkle[i])
  }
};
First, I create an array of all DOM elements with class particle, then I loop over it, and remove each one.
I had to pause and think for a moment at this point because my initial reaction was to simply delete the array and be done with it. But the array only holds references to the DOM elements which need to be deleted from there one by one. This happens inside the for loop.
Animating the particles permalink
Now I have particles, but still no glitter. Time for some animations.
.particle {
  animation: var(--duration) linear var(--delay) var(--iteration) sparkle;
  ...
  opacity: 0;
}

@keyframes sparkle {
  0% { opacity: 0; }
  25% { opacity: var (--opacity); }
  75% { opacity: 0.9; }
  100% { opacity: 0; }
}
I animate opacity on the particles for the sparkle effect. The values and keyframes steps I landed on are the result of taste-based tweaking, they felt right.
To kick the glittering up a notch, I use random values for the opacity at 25%, the animation duration, the delay, and for how often I iterate over the animation.
const randomProperties = function (particle) {

  ...

  const opacity = Math.random() + 0.1;
  particle.style.setProperty('--opacity', opacity);

  const duration = Math.floor(Math.random() * (800 - 300)) + 300;
  particle.style.setProperty('--duration', duration + 'ms');

  const delay = Math.floor(Math.random() * (1000 - 200)) + 200;
  particle.style.setProperty('--delay', delay + 'ms');

  const iteration = Math.floor(Math.random() * (10 - 4)) + 4;
  particle.style.setProperty('--iteration', iteration);
};
Again, the values are the result of trial and error until everything felt more or less right. No other reasons involved.
A fun side effect of combining these random values for the animation is that the glittering kind of fizzles out if you do not trigger a new round of changes on the page.
Getting ready for the stage permalink
Just showing the page without mentioning anything about what to do was a tad cryptic. Initially, I had it spelled out which action anyone visiting should take (press a key, in fact) but that didn’t work well on mobile. So I changed the text for different breakpoints. But of course, that would fail on bigger touch screens like tablets, since I didn’t figure out how to detect those before any event is registered.
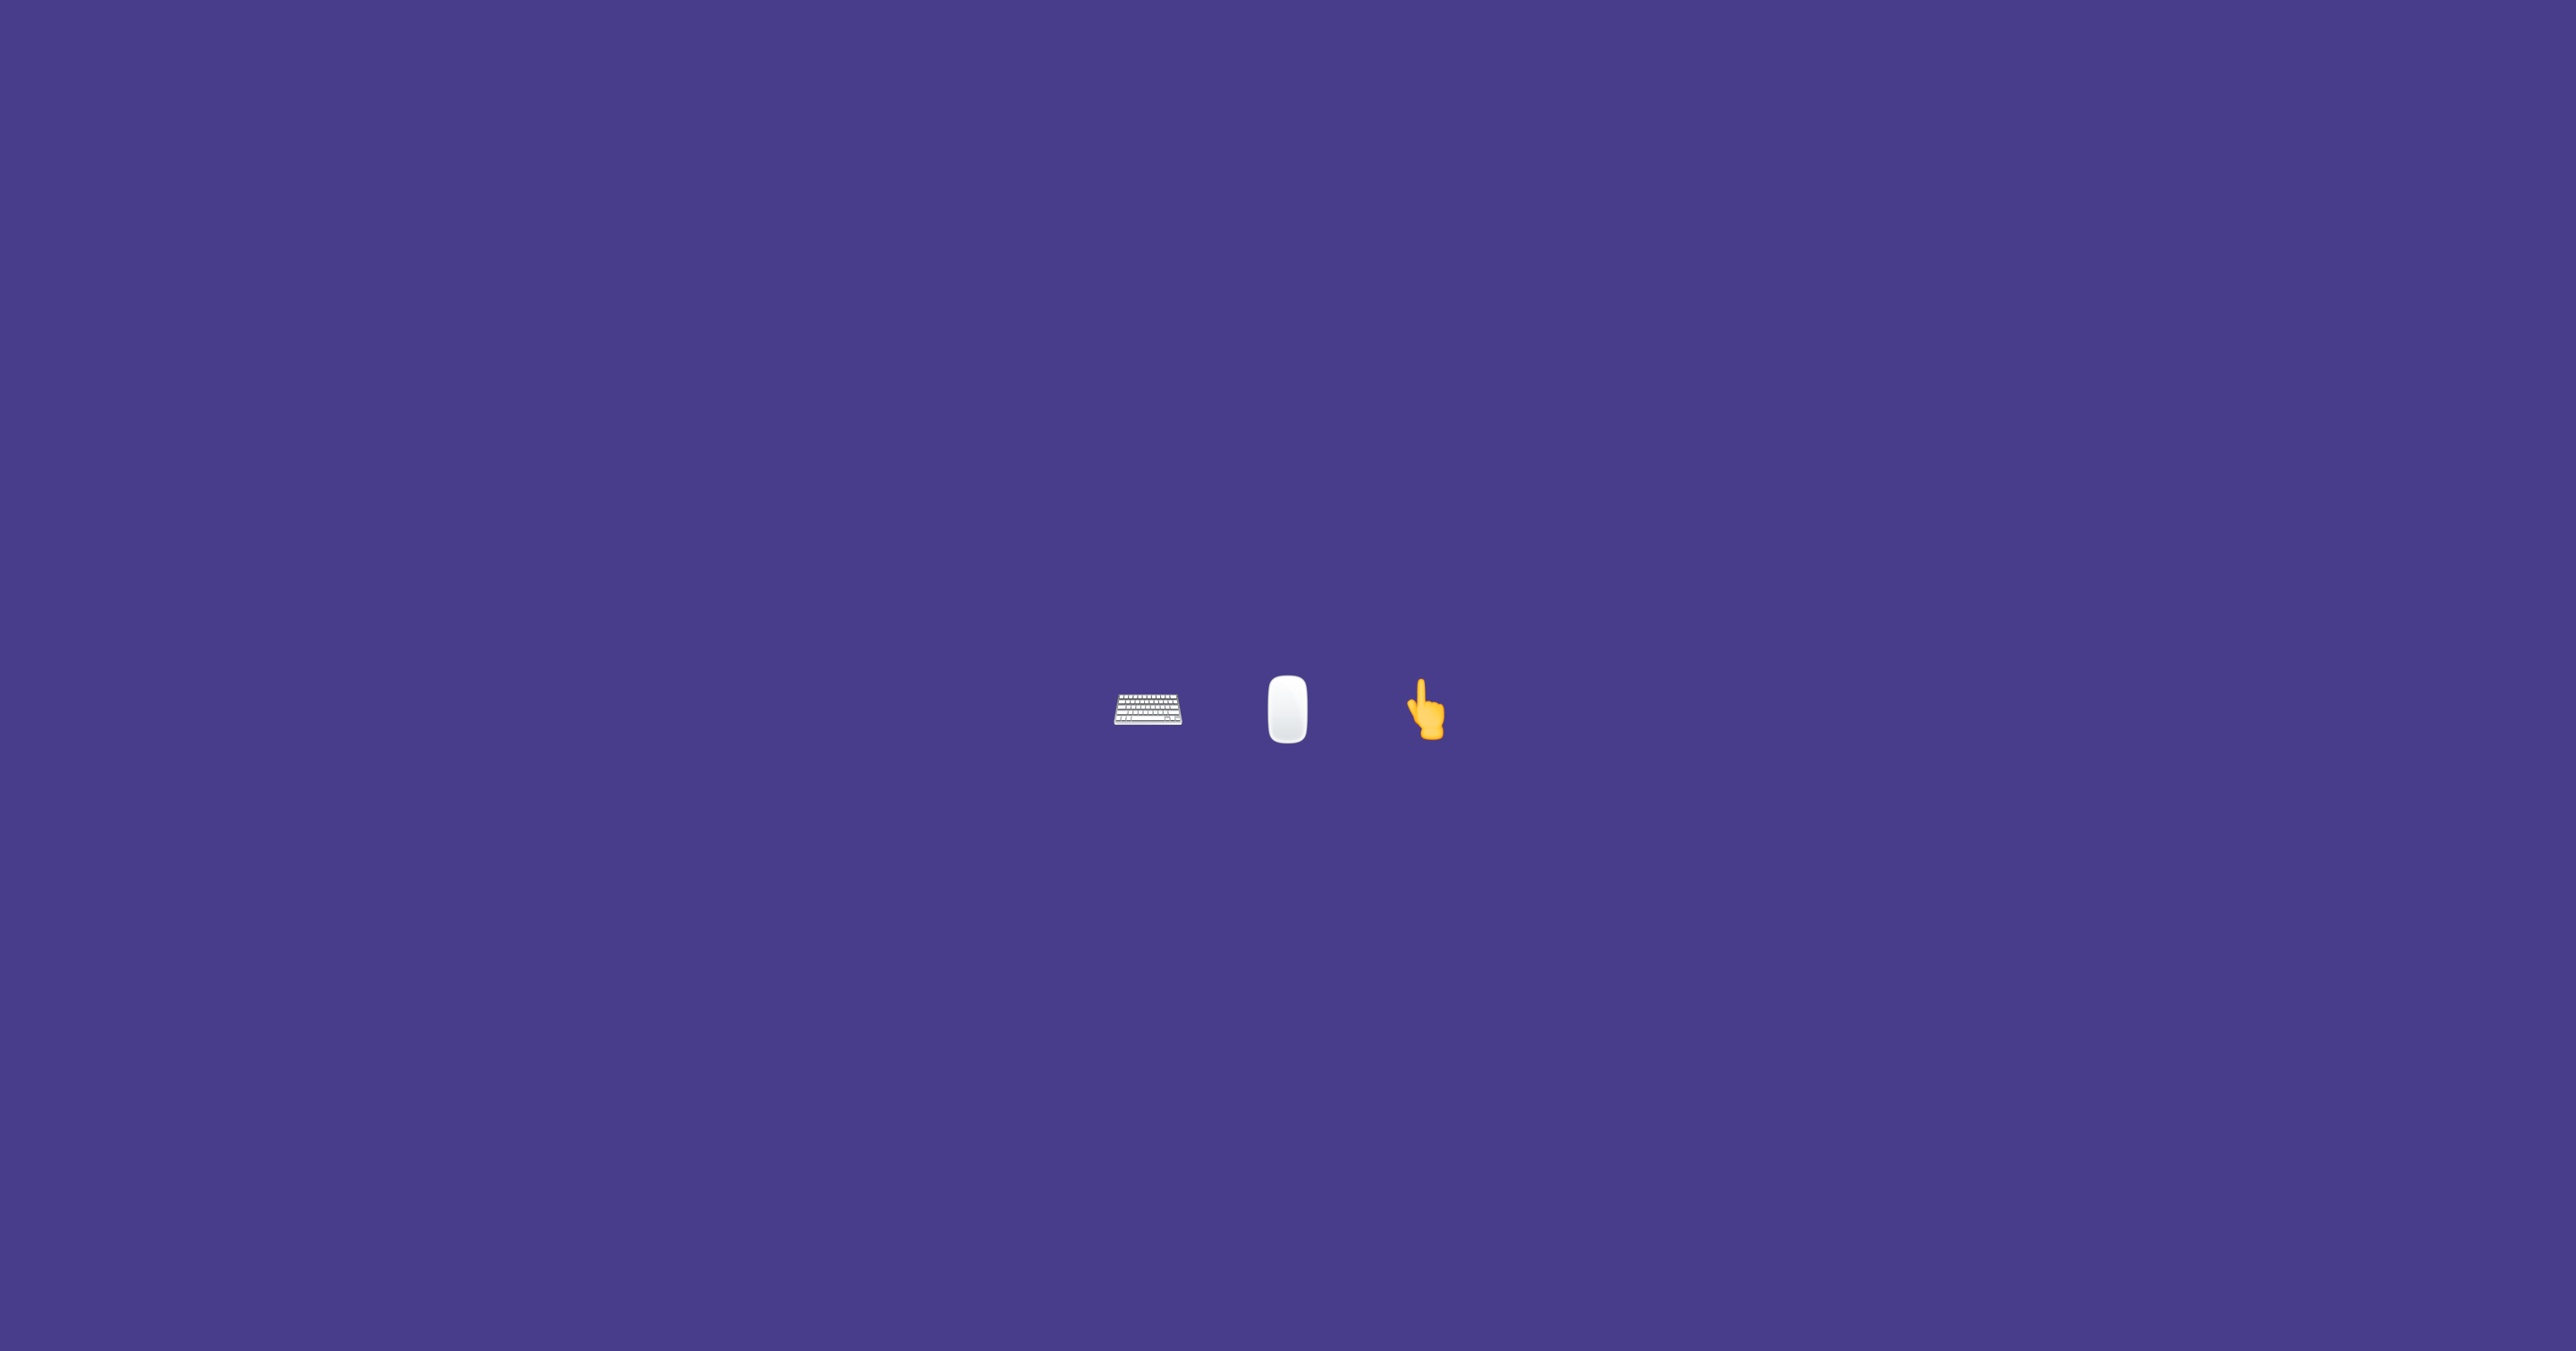
Enter emojis.
Everything is better with emojis. 💖